SplitPal Downloads
Here what we have achieved in a short time since our release.
Split your expenses on different scenarios
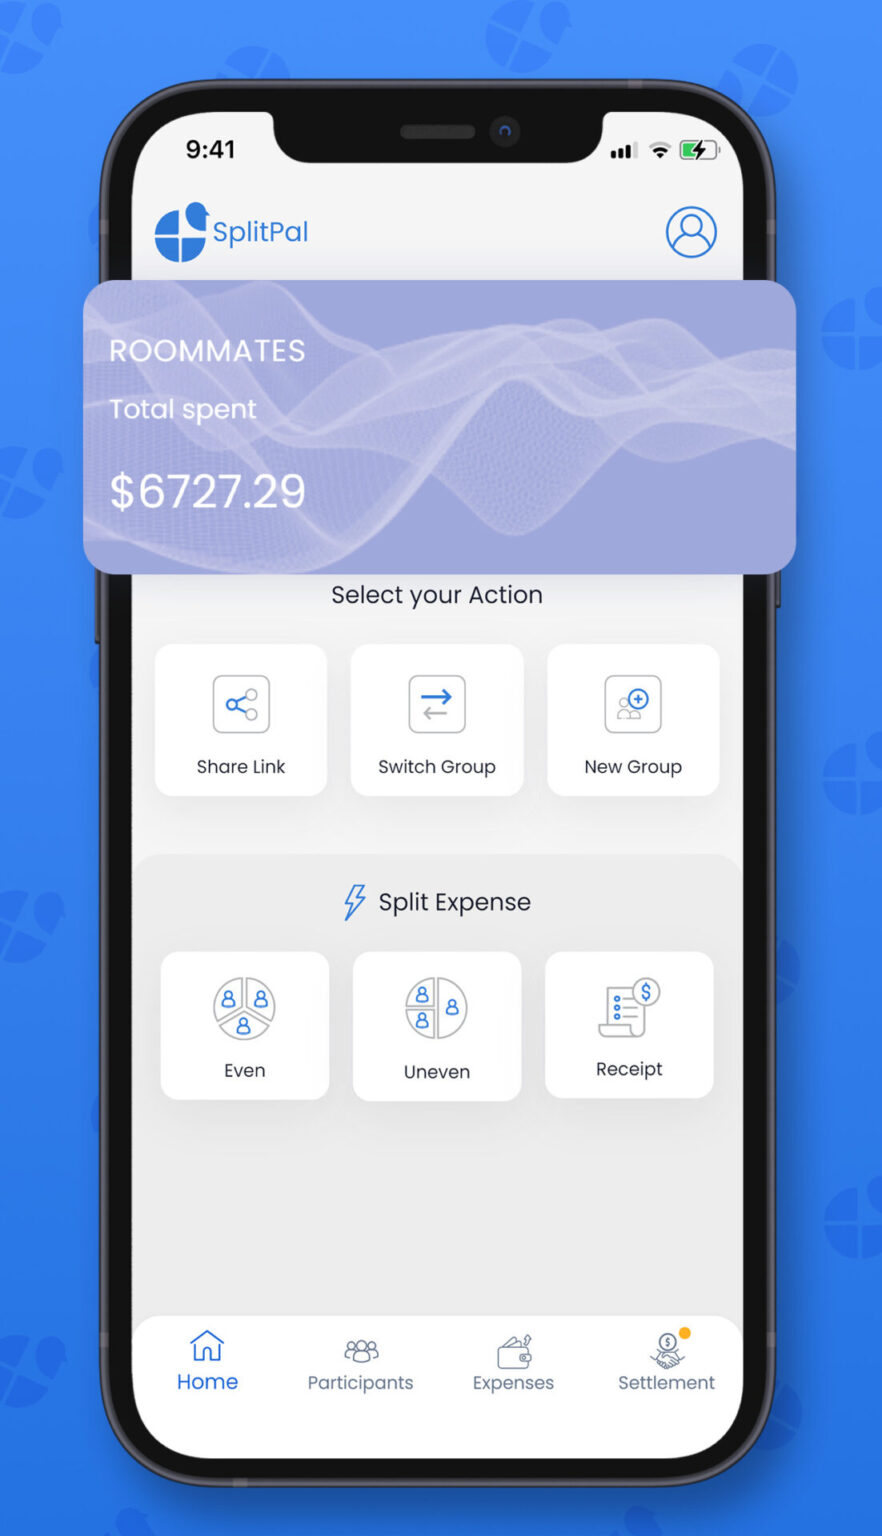
Regardless of your use case, SplitPal is here to help track and split your expenses right away.

Split Restaurant Bills
SplitPal is developed to resolve complex itemized calculations on the spot and easily share with your friends. Assign each item and let the app calculate tip and taxes.

Split Travel Expenses
Figuring out splitting expenses during your vacation sure would be tiring with big group. SplitPal here to help with splitting travel expenses with different participants for each activity.

Split Rent, Utilities with Roommates
Use SplitPal as a roommate expense tracker to freely add your monthly expenses such as groceries, rent, utilities and so on with an ability of sharing through a simple link.
Split Bills Easily
Easily manage shared expenses with our convenient expense sharing app
Easy to use
Quickly add expenses with one click using the quick expense feature
No registration needed
Create and share expenses directly without signing up. Or you can sign-in with Gmail, AppleID or Email to track your expense.
Receipt scanner
Receipt scanner with precise OCR: you don't need to enter each item one by one. Simply scan your receipt and Splitpal Itemizes the expenses for you with amounts.


Collaboration made easy
After creating your group simply hit "Share Group Link". You can send the create link to your group to expense together.
One click to pay
Venmo integration makes payments easier! After settling, you can pay or request your expense amount with others.
Different splitting options
Even, uneven and itemized bill splitting options are available on Splitpal.
Works Everywhere
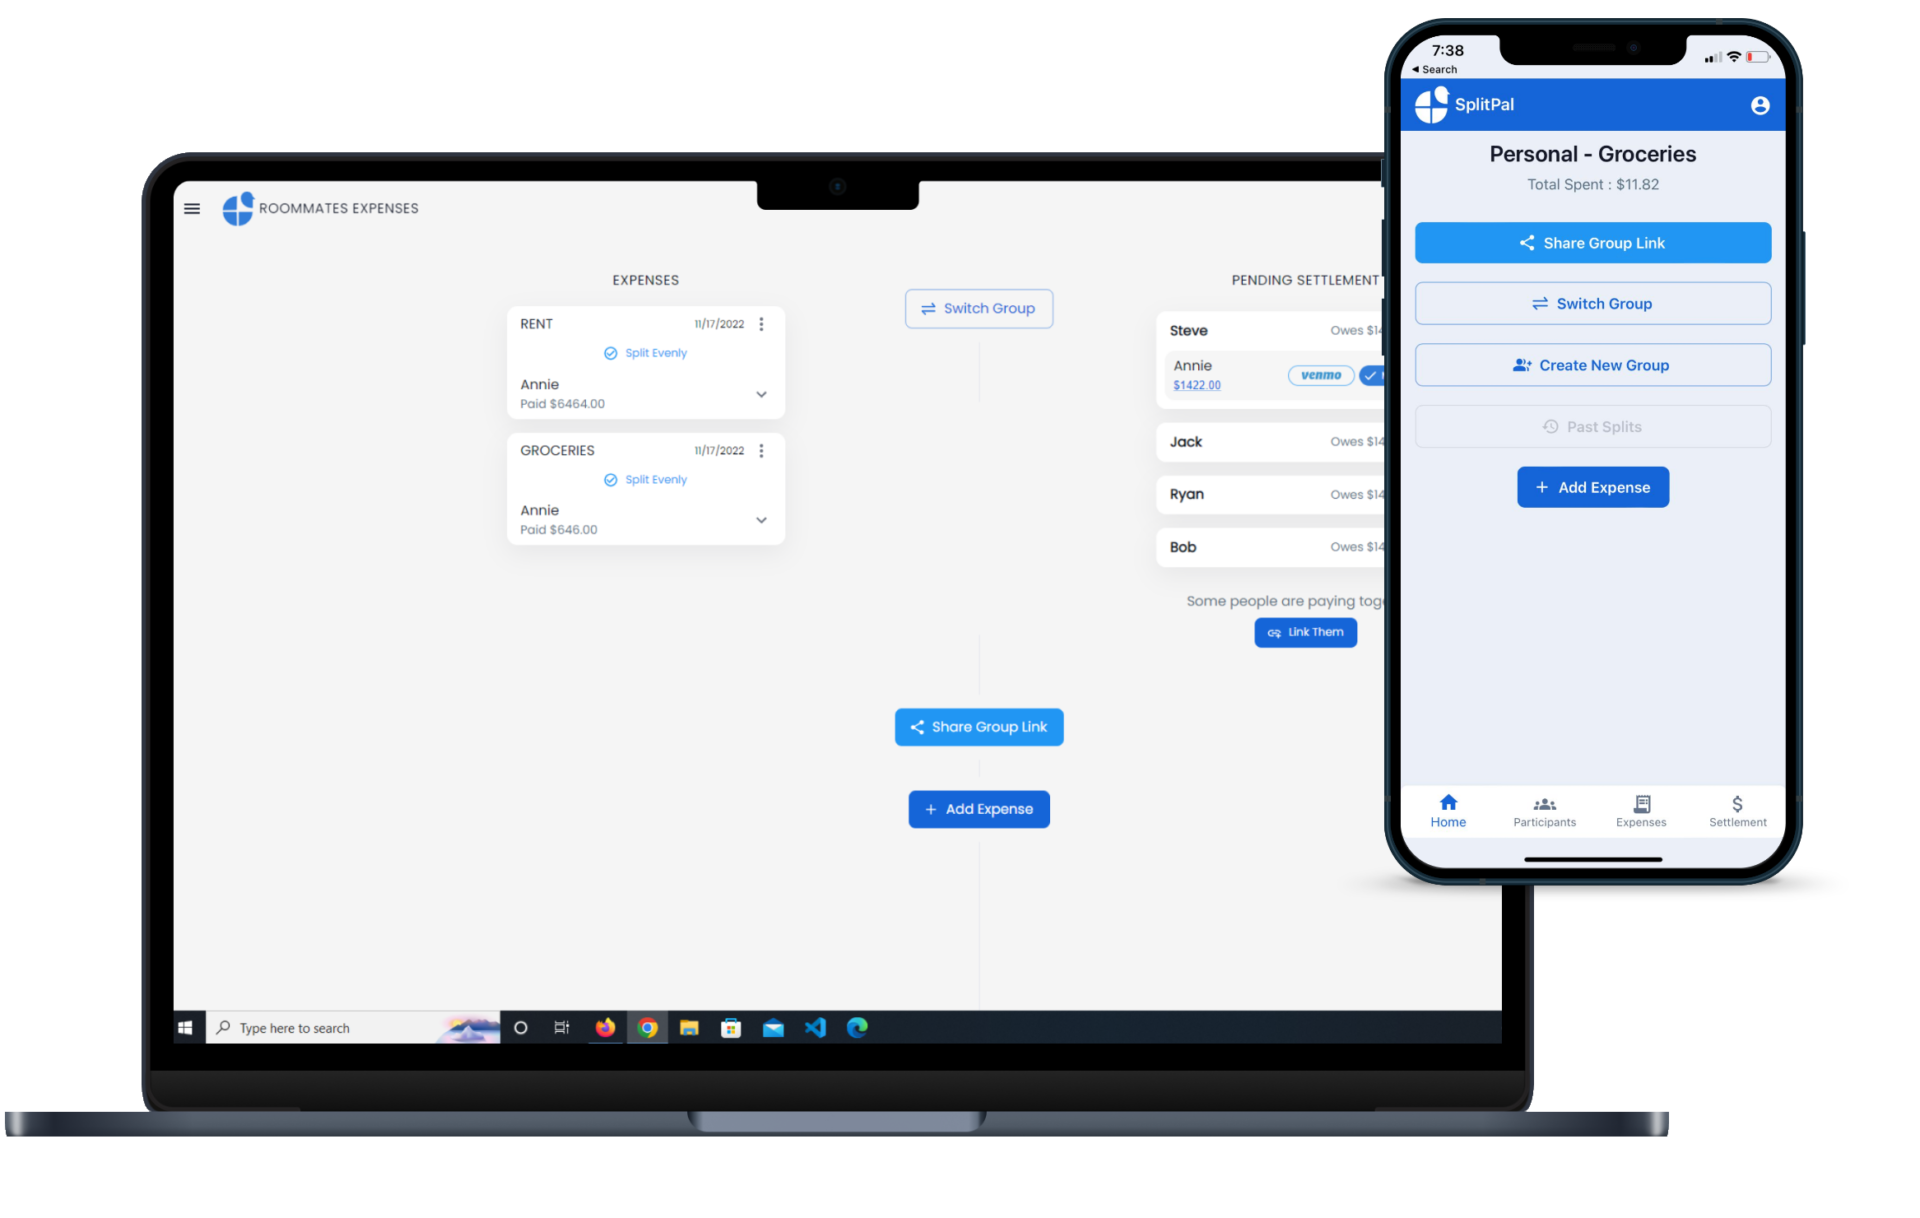
Use SplitPal on Any Platform
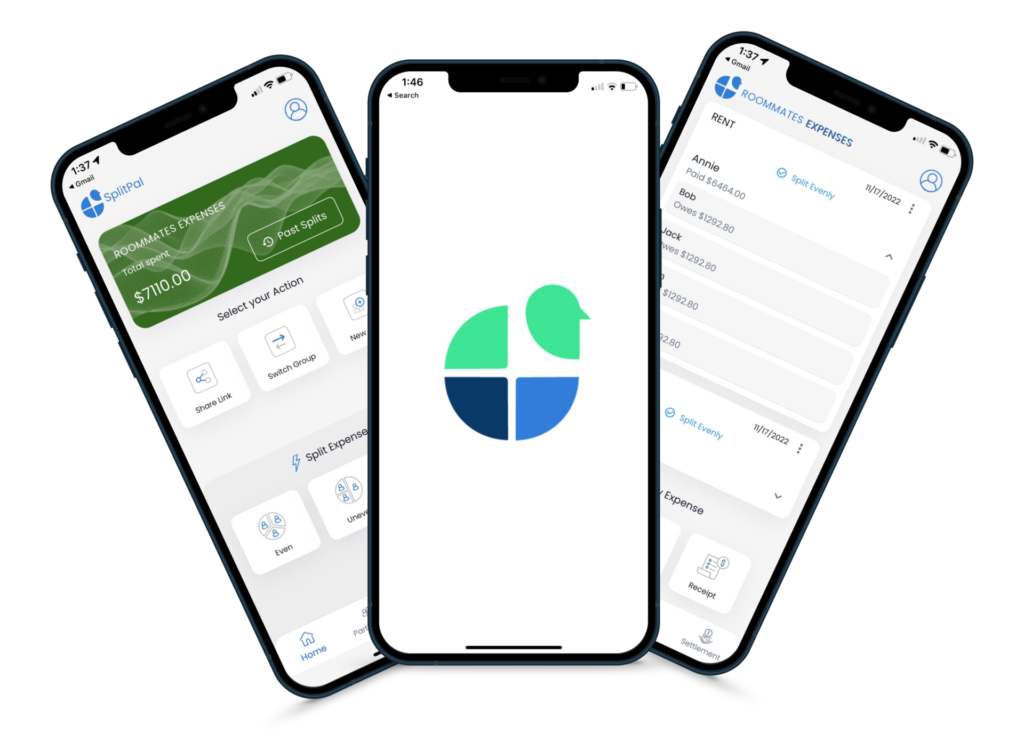
Through the SplitPal App
Use Splitpal basic features without login on the web or mobile. Just click on one of the app store links on top of the website and you can install our app on the OS of your preference.
Through SplitPal Portal
Don't want to install it on your phone? No problem, you can directly access SplitPal through your browser, responsively edited for mobile and PC. One click and it's ready to split!

Have a Question?
FAQ
Here you can discover more about SplitPal’s awesome features. If you wish more features to come into the app, please contact us with your ideas!
You can easily create a new group from the webapp and mobile app.
On the web:
1. Navigate to app.splitpal.io and you will be prompted for for a group name.
2. Once you enter in a name click create and start adding participants.
On Android and IOS:
1. Once you download splitpal from the Appstore or playstore, click start splitting on the homescreen.
2. on the Create a group screen, enter in a name for the group click create and start adding participants.
You can create a new group from the web and both mobile apps.
On the web:
1. Click your name in the upper right hand corner of the home screen
2. Click ‘Create a new group’ in the drop-down
Note: On the web, you can add people to a group by name only (no contact info required).
On iPhone:
1. Tap to navigate to your Groups tab
2. You should see an option to “Start a group” at the bottom of your list of groups
On Android:
1. Tap the more option (three vertical dots) in the top right corner of the screen
2. Choose ‘Create a group’
Simple click the Venmo Icon to pay with Venmo, your Venmo App will automatically Appears if you have it installed.
You can’t join a group on your own – you’ll need a current member of the group to invite you. Ask that person to go to the group’s settings page and add you under the “Group members” section.
To remove someone from a group, just follow these steps:
- Make sure the person you wish to remove has no outstanding debts to anyone in the group. (If you have Simplify Debts on, they only need to have a $0 balance; if you have Simplify Debts off, they need to have all individual debts repaid.)
- Navigate to the group settings page by tapping the settings icon (in the upper right corner of the group’s screen in your mobile
- Tap on the person’s name that you’d like to remove
- Select the option to remove them from the group
Changing the default will not change the currency of your existing bills. You can change the currency of any individual bill by opening the “Edit bill” screen, then clicking or tapping on the currency symbol, which should bring up a list of all currency options. Alternately, if you would like to switch the currency on all your existing bills at once, you can do so under “Advanced features” on the account settings page of our website.


